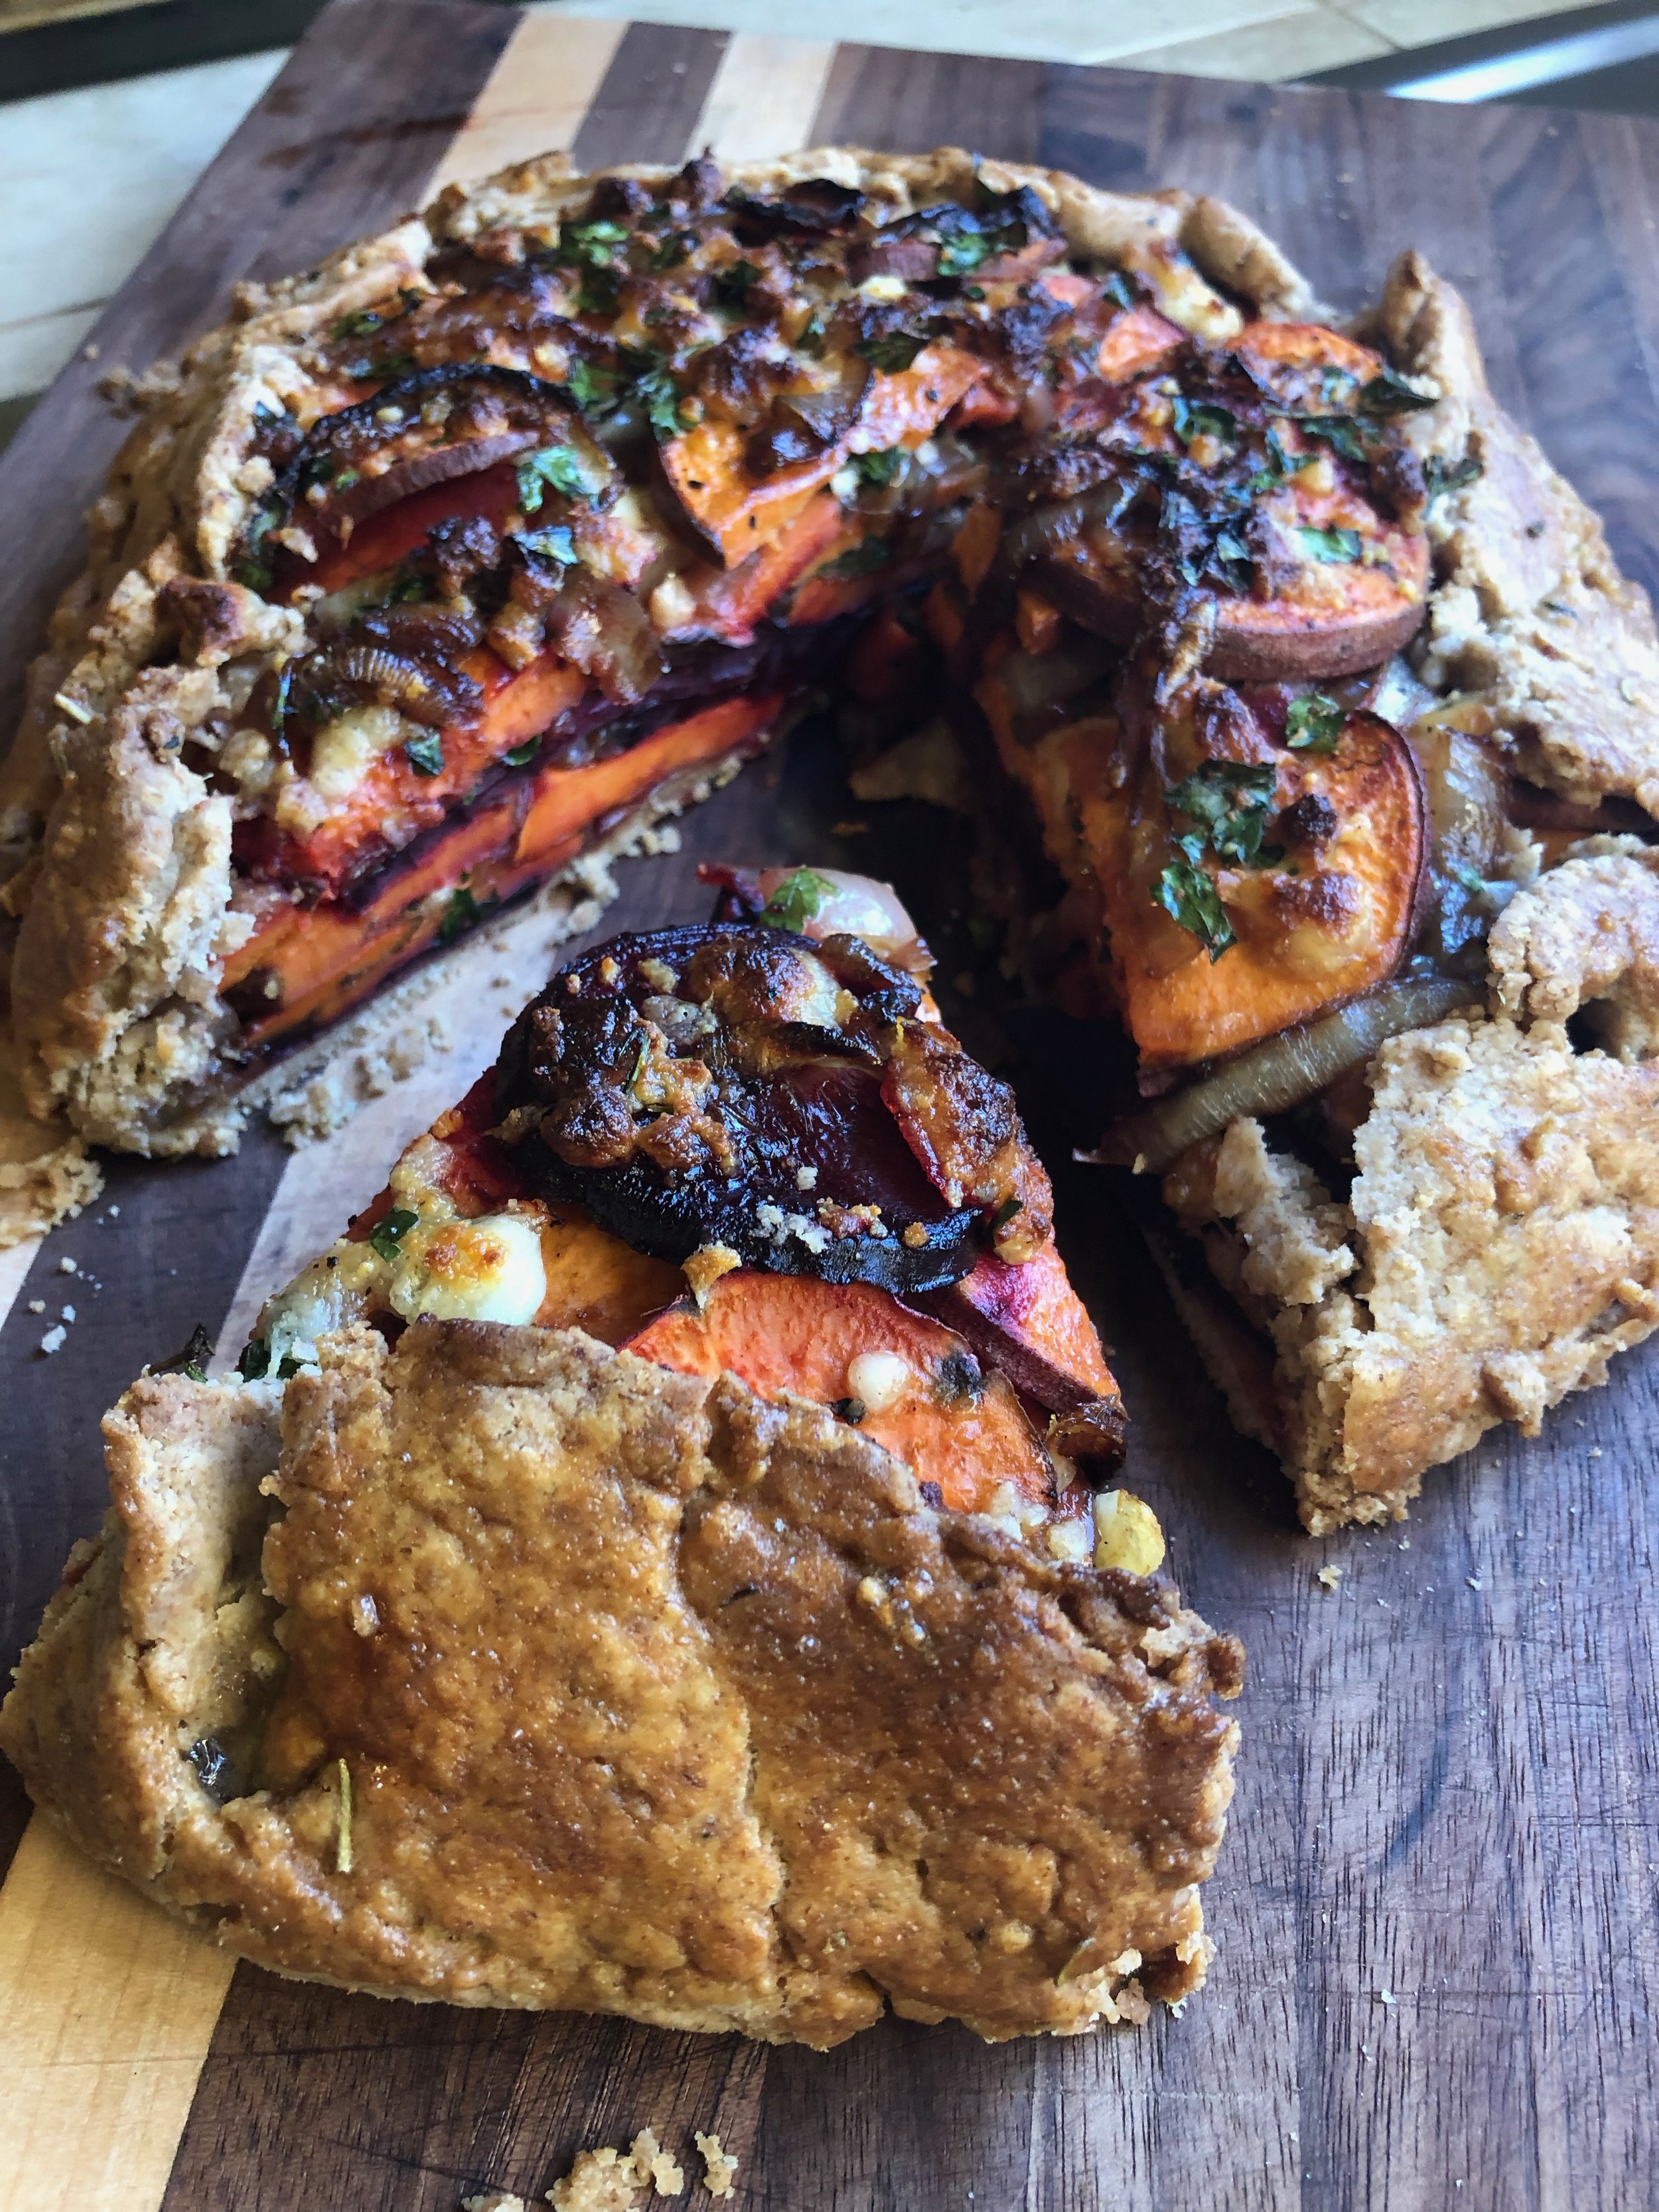
Sweet Potato Galette: A Cooking Journey

I wanted to makes something new for Thanksgiving this year. I love tradition, don't get me wrong, but I also love an excuse to explore in the kitchen. I decided on sweet potatoes as my food of choice since I have not done much more than bake them or "candied" them for the holidays. I picked a galette because I have never made one and have been wanting to. A win-win!My other criteria was to make this an original recipe. Since I am horrible at following a recipe, I figured this would let me off the hook to do my own thing. It also meant the risk of it not turning out well, which is why this recipe turning into a blog. I hope you may learn from, or at least be entertained by, my Sweet Potato Galette Cooking Journey.
A galette, as I understand it, is an open face pastry baked with sweet or savory filling.
First thing I needed was a pastry recipe. Based on a few google searches, a crust seemed like the most easy to apply. I promptly got access to my grandma's oil crust recipe, the source of many a good pie memory! I made a few modifications, as written below, knowing I wanted this to be a savory dish.
Whole Wheat Savory Oil Crust:
- 1 cup whole wheat flour
- 3/4 cup all purpose flour
- 1/2 cup olive oil
- 1/4 cup milk
- 1/2 teaspoon salt
- 1/2 teaspoon dried oregano
- 1 teaspoon dried rosemary
Mix flour, salt and herbs in small bowl. Make a well in the middle and pour in oil and milk. Mix with a spoon until just combined, then knead with hands until the dough forms one solid ball. Wrap the dough in plastic wrap and place in the refrigerator while you prep the filling. [gallery ids="1602,1603,1604" type="square"]MY JOURNEY NOTES: I subbed in whole wheat flour for the original 2 cups all purpose flour in my grandma's recipe. Even though I didn't add a full cup out of fear of it being to dense and crumbly, it was still crumbly. I had to put the dough out on a cutting board and wet my hands to press it so it would form a solid ball that wouldn't crumble. If your dough is crumbling, add a little more milk to make it stick together better; later in the process you will see that I should have done that!
Next, the filling...
Via a variety of recipe readings I had a few ideas for how and what to have with my sweet potatoes in my galette filling. I already had beets in the fridge that needed used and I REALLY LIKE caramelized onions, so that was settled. I also wanted to be able to layer with cheese, because cheese is good.From experience I have found that sweet potatoes and beets tend to take a while to cook through, so thin slicing them and a pre-bake seemed reasonable, to make sure they were not crunchy at the end.Oh yeah, and I also had fresh parsley so I added that in also.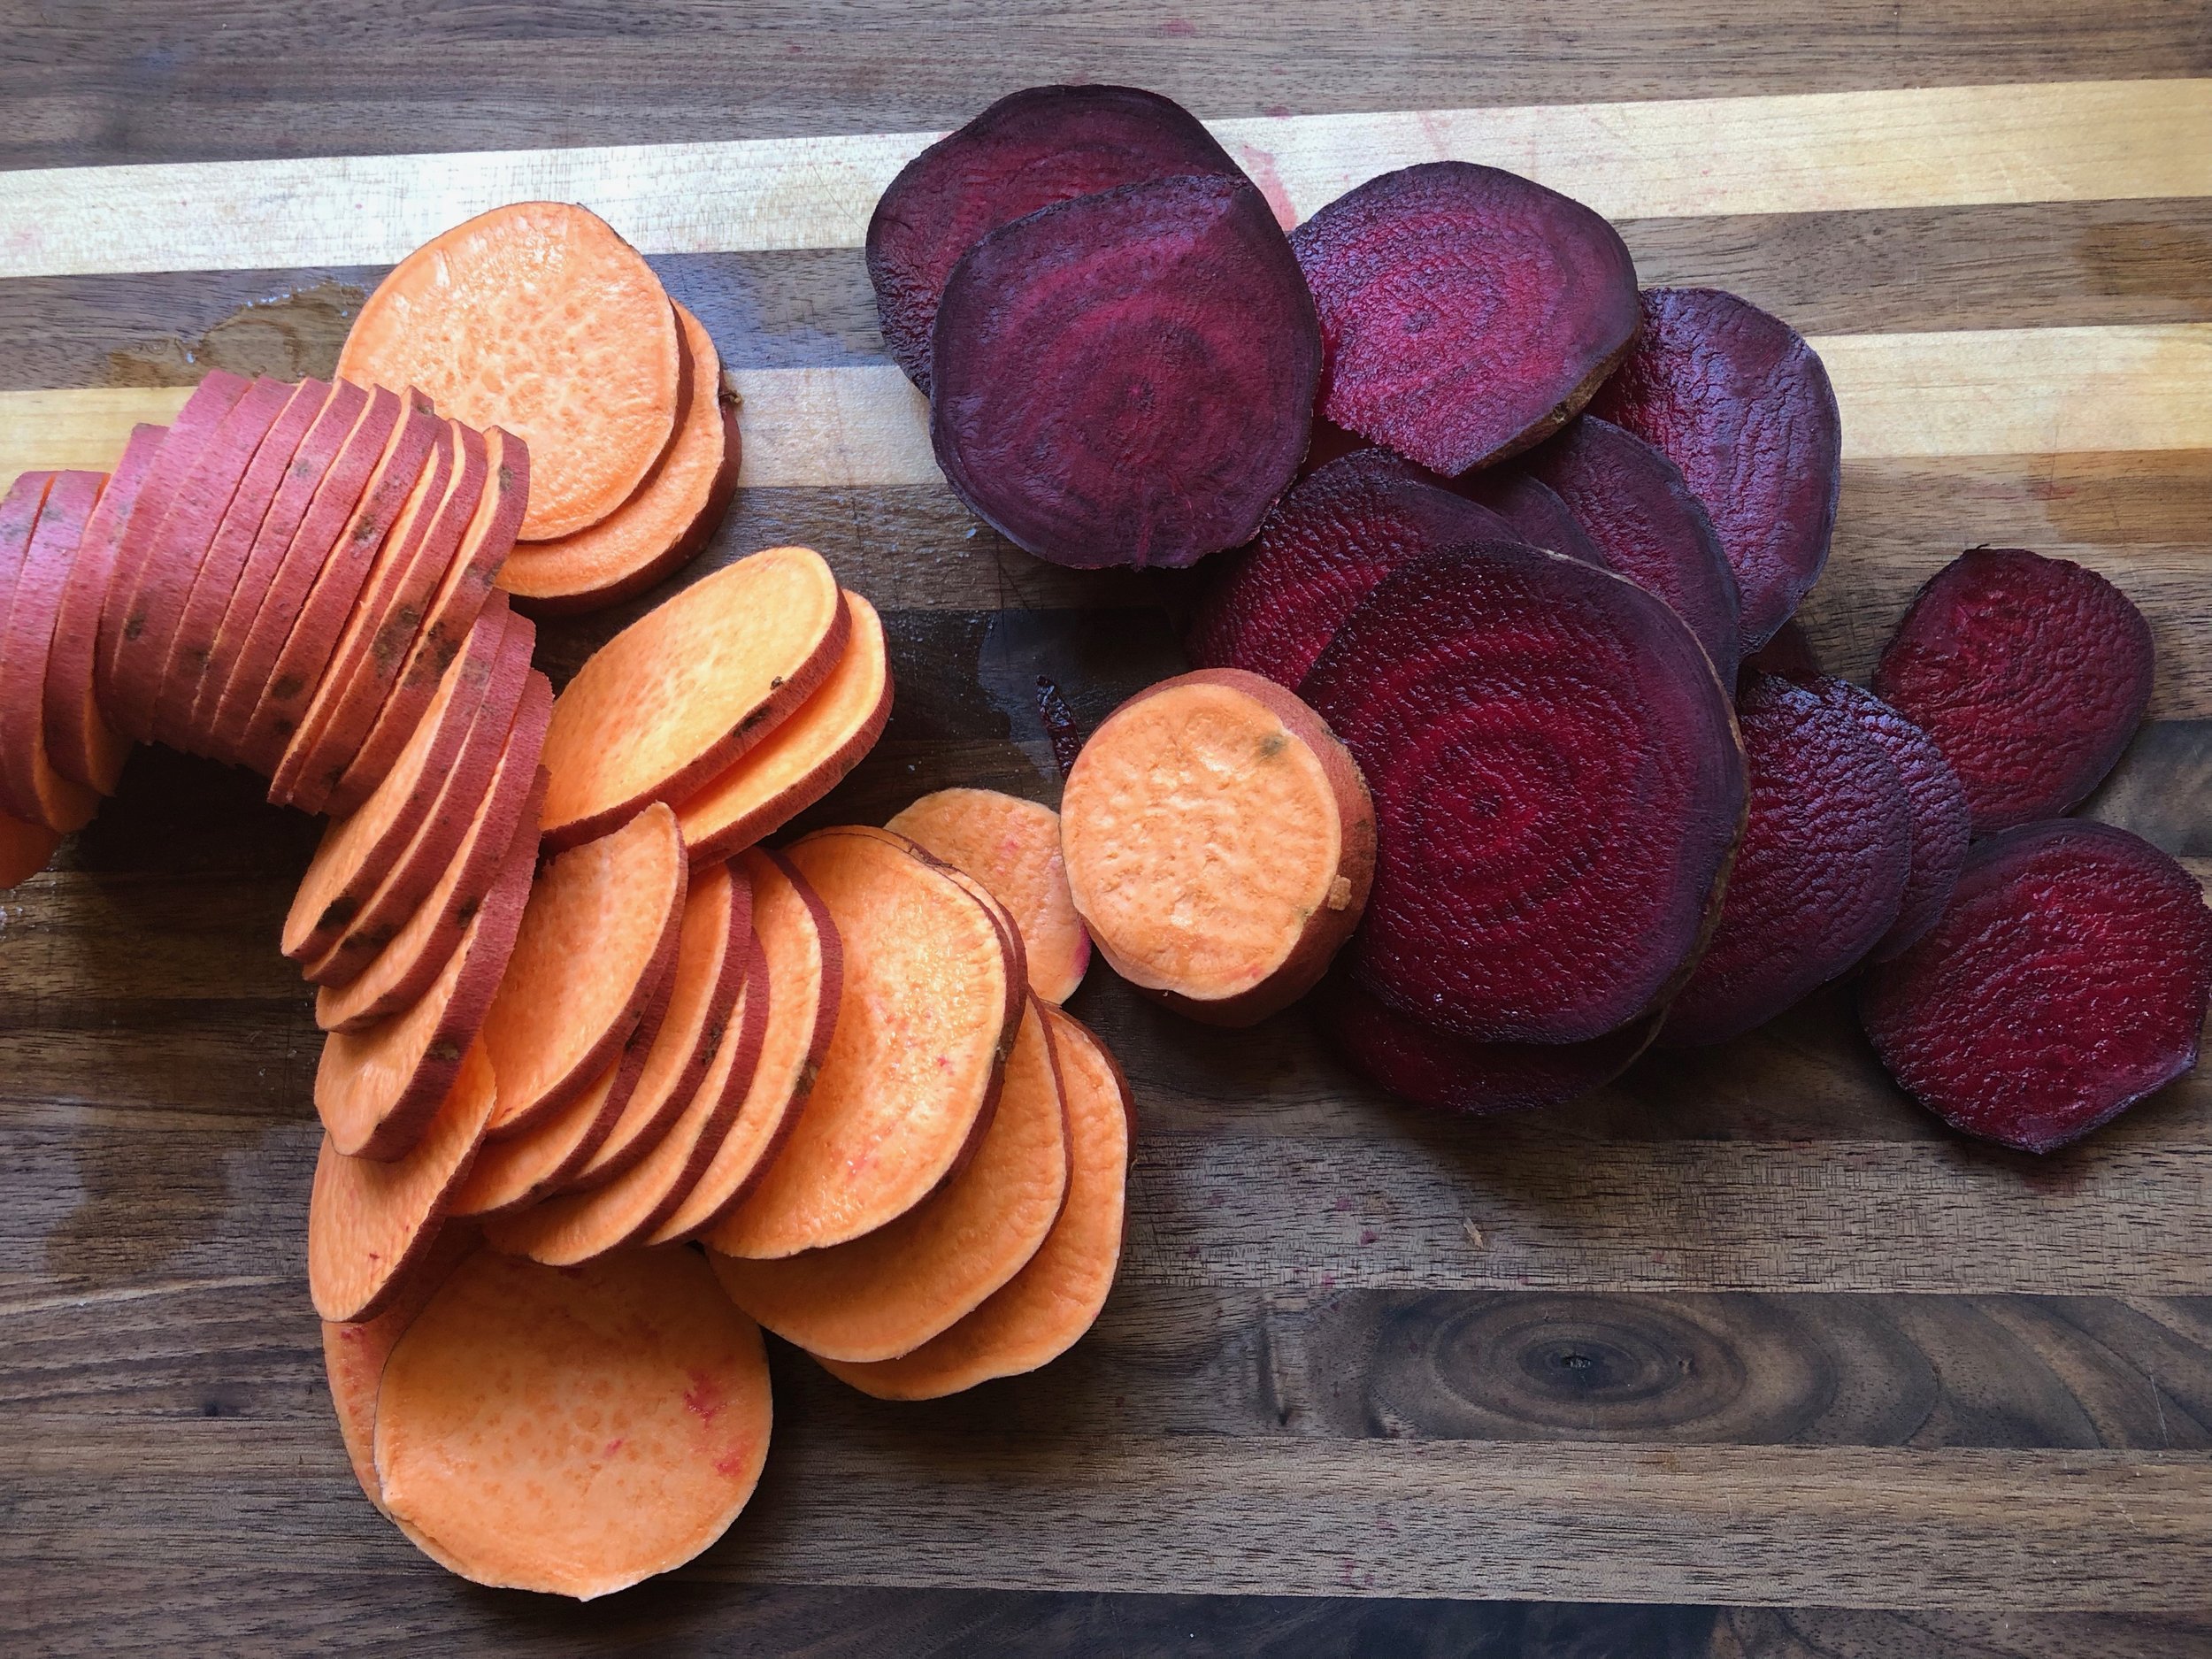
Sweet Potato Galette Filling
- 1 medium sweet potato, washed with skin on, cut into thin rounds
- 1 medium beet, washed with ends cut off, cut into thin rounds
- 1-2 tablespoons oil, salt and peppers, to bake sweet potato and beet
- 1 small onion, or half a large, cut into thin rounds or half moon slices
- 1 tablespoon butter and 1-2 tablespoons balsamic vinegar for caramelizing onions
- 3/4 cup crumbled queso fresco, or another soft crumbly cheese
- 1/4 cup chopped fresh parsley
Set oven temperature at 400 degrees Fahrenheit. Toss sliced sweet potatoes and beets in oil, salt and pepper, cover with aluminum foil and place in oven. Bake until tender, but still firm, about 20-30 minutes, stirring half way through. Take out of oven and set to cool when done, but leave oven on, pre-heated. While sweet potatoes and beets are baking, heat butter in fry pan on medium. Add sliced onion, stir, cover, and let cook 3-5 minutes, until close to translucent. Add the balsamic vinegar, stir, cover, and let cook another 3-5 minutes. Turn off heat, stir, cover and let sit. Mix your cheese crumbles and parsley together in a small bowl, set aside.  MY JOURNEY NOTES: I took out my sweet potatoes and beets too early, as some of them were still crunchy at the end, which ironically was my reason for baking them in the first place. So, if you don't like the crunch (maybe you do which is great!) consider at least 30 minutes of baking.
Now I had to put it together...
When I pulled out my dough, I must admit I was a bit nervous that it would come out crumbly, and it still was. When I went to roll it out I had to press it A LOT with my hands to form it back together and I did add some sprinkles of water, which made it stick to my wax paper. It was a bit tricky to maneuver, but I am happy to say it was usable and I am glad I did not give up on it!
Building The Galette
- Pre-made oil crust
- Filling ingredients
- Egg wash= 1 egg beat with a splash of milk or water
Roll out the crust between two pieces of wax paper, spinning and flipping as you need to form a thin crust that is round(ish) in shape. Transfer to a baking sheet with a fresh piece of parchment paper, or you may choose to place the fillings in the crust on the cutting board and then transfer the whole galette to the baking sheet after.Place a layer of sweet potatoes and beets on the crust leaving roughly two inches all around. Then layer on the onion and the cheese parsley mixture. Repeat this process until your filling ingredients are all used up.  Fold the two inches of crust up around the filling, pressing it in place. Spread the egg wash on the crust with a small brush. Don't be shy with the wash. Bake for up to 45 minutes, check after 30 minutes; if crust is golden brown and galette is bubbling and crispy on top, it is done! Let cool a few minutes before cutting.
  MY JOURNEY NOTES: I HAD to add my filling with the crust on top of the wax paper on the cutting board or else it would have fell into a million pieces. My idea was that the egg wash and the baking would help hold it together (and it did!) but for now I had to improvise. Also, my baking sheet was too small to fit my crust when it was all rolled out. [gallery ids="1609,1610" type="square" columns="2"]Also due to the crumbling, I used the wax paper under the crust to fold up the edges and hold them in place, as shown above. I pressed all edges up together and held them there with the paper. I actually did a good job of judging amount of filling I needed. Besides the cheese, which I changed in this recipe to reflect what I actually used.
If I were to do it again...
- Add a little more milk, or water, to the crust from the very start. I KNEW that the crust dough was too crumbly, yet I didn't do anything about it until later when I was rolling it out and that was much harder. The recipe here should reflect a better ratio, but using sound judgement is necessary every time.
- No beets. Although pretty, the taste to me was too strong and therefore over-powered the nice partnership of flavors from the sweet potato, onions and cheese.
- More caramelized onion! A full small or medium onion would be ideal, I did not have enough in my opinion. When I make this for Thanksgiving I will leave out the beet, keep the same amount of sweet potato and add more onion.